Need to replace a light switch? Updating or relocating a light switch can seem like a daunting task, but with the right tools and some guidance, it can be a straightforward DIY project. Whether you're renovating your home or simply want to improve convenience, this guide will help you safely replace a single pole light switch using innovative RunLessWire technology.
Step 1: Planning Replacement
Before you begin, determine the new location for your light switch. Consider the convenience, functionality, and aesthetics of the new spot. If you're using RunLessWire switches, you have the flexibility to place switches virtually anywhere without needing to run new wires.
Note: If using a RunLessWire switch, there will need to be a neutral wire.
Step 2: Gather Your Tools and Materials
For a traditional switch, you’ll need:
- Screwdriver
- Wire strippers
- Voltage tester
- Electrical tape
For a RunLessWire switch, you’ll need:
- RunLessWire switch kit
- Screwdriver
Step 3: Turn Off the Power
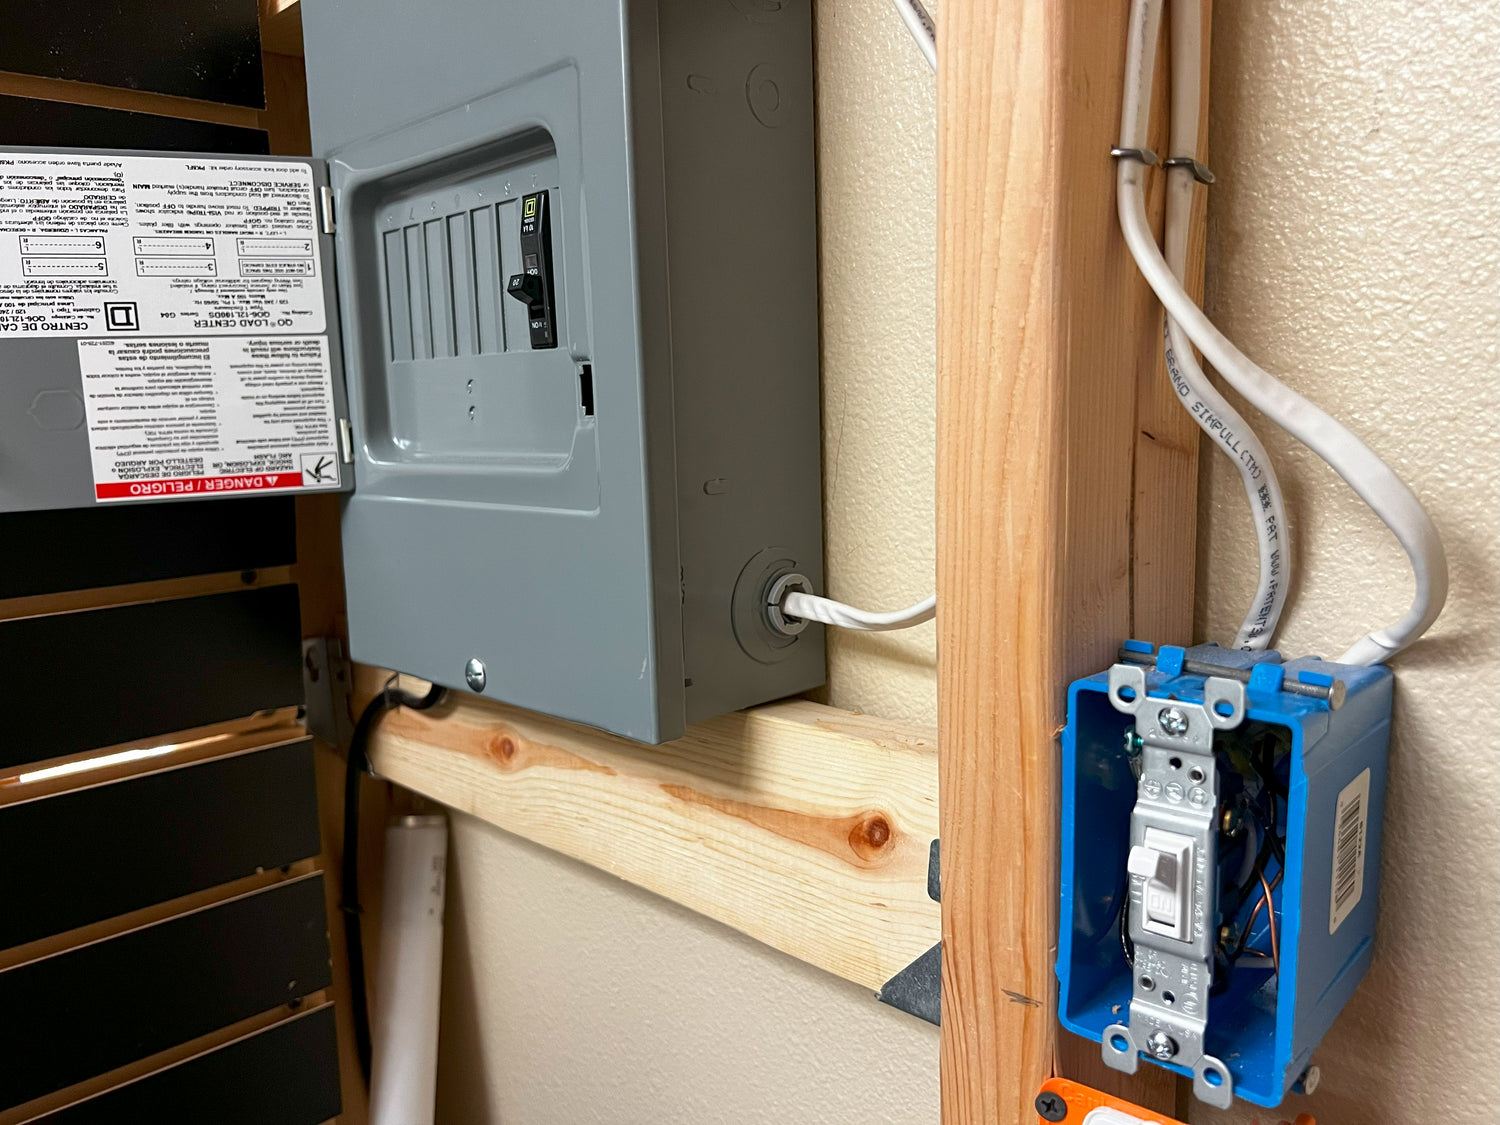
Safety first! Ensure that all power is turned off at the breaker box to avoid any electrical hazards. Use a voltage tester at the switch location to confirm that the power is completely off.
Step 4: Remove the Old Switch (if applicable)
If you're replacing an existing switch:
- Remove the switch plate by unscrewing it.
- Use the voltage tester again to double-check for any live wires.
- Disconnect the wires from the old switch.
- If you're not using a wireless solution, you'd typically need to reroute or extend wires, which might require professional help.
Step 5: Install the RunLessWire Switch
With RunLessWire, you skip the complicated wiring:
- Attach wires to the RunLessWire Receiver:

- Mount the RunLessWire switch on any flat surface or at the traditional switch location:


Step 6: Test Your New Setup
Turn the power back on at the breaker. Test the switch to ensure it controls the lights as expected.
Step 7: Enjoy Your New Light Switch
Congratulations! You've successfully moved or replaced your light switch. Enjoy the new convenience and aesthetic of your updated lighting control.
Additional Tips
- Check out the install and troubleshooting for RunLessWire switch kits.
- If you feel uncomfortable with any part of the process, especially with traditional wiring, consider hiring a licensed electrician.
- Explore further customization with RunLessWire products, such as adding dimmers or integrating with smart home ecosystems for enhanced functionality.
By using RunLessWire solutions, you not only simplify the installation process but also enhance the flexibility and functionality of your home lighting without extensive electrical work. Perfect for DIY enthusiasts and those looking to modernize their home with minimal disruption.

Leave a comment
All comments are moderated before being published.
This site is protected by reCAPTCHA and the Google Privacy Policy and Terms of Service apply.